HubEngine: Actions

Using Actions you can write values into selected fields during a synchronization, also conditionally.

Create Actions

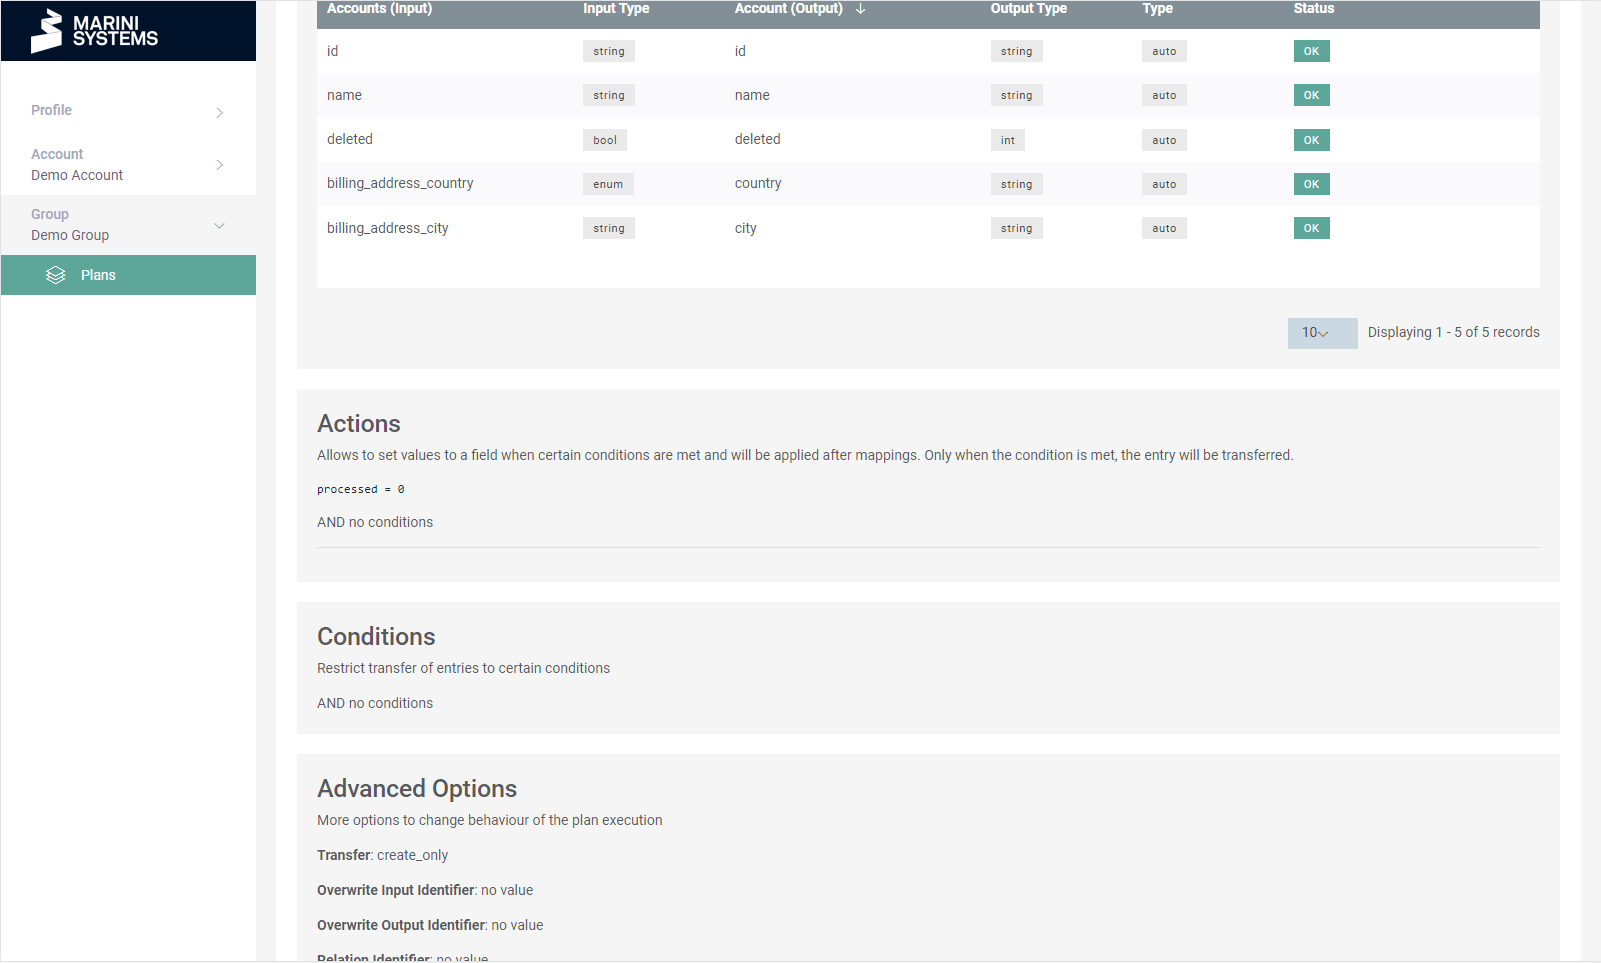
To set actions in your plan, navigate to the Connection tab. For a bidirectional plan, select the appropriate synchronization direction. The configuration area for the actions is directly below the mapped fields:

Mapping and Actions

If you click on Edit above the field mapping, you can edit all options (field mappings, actions, conditions).

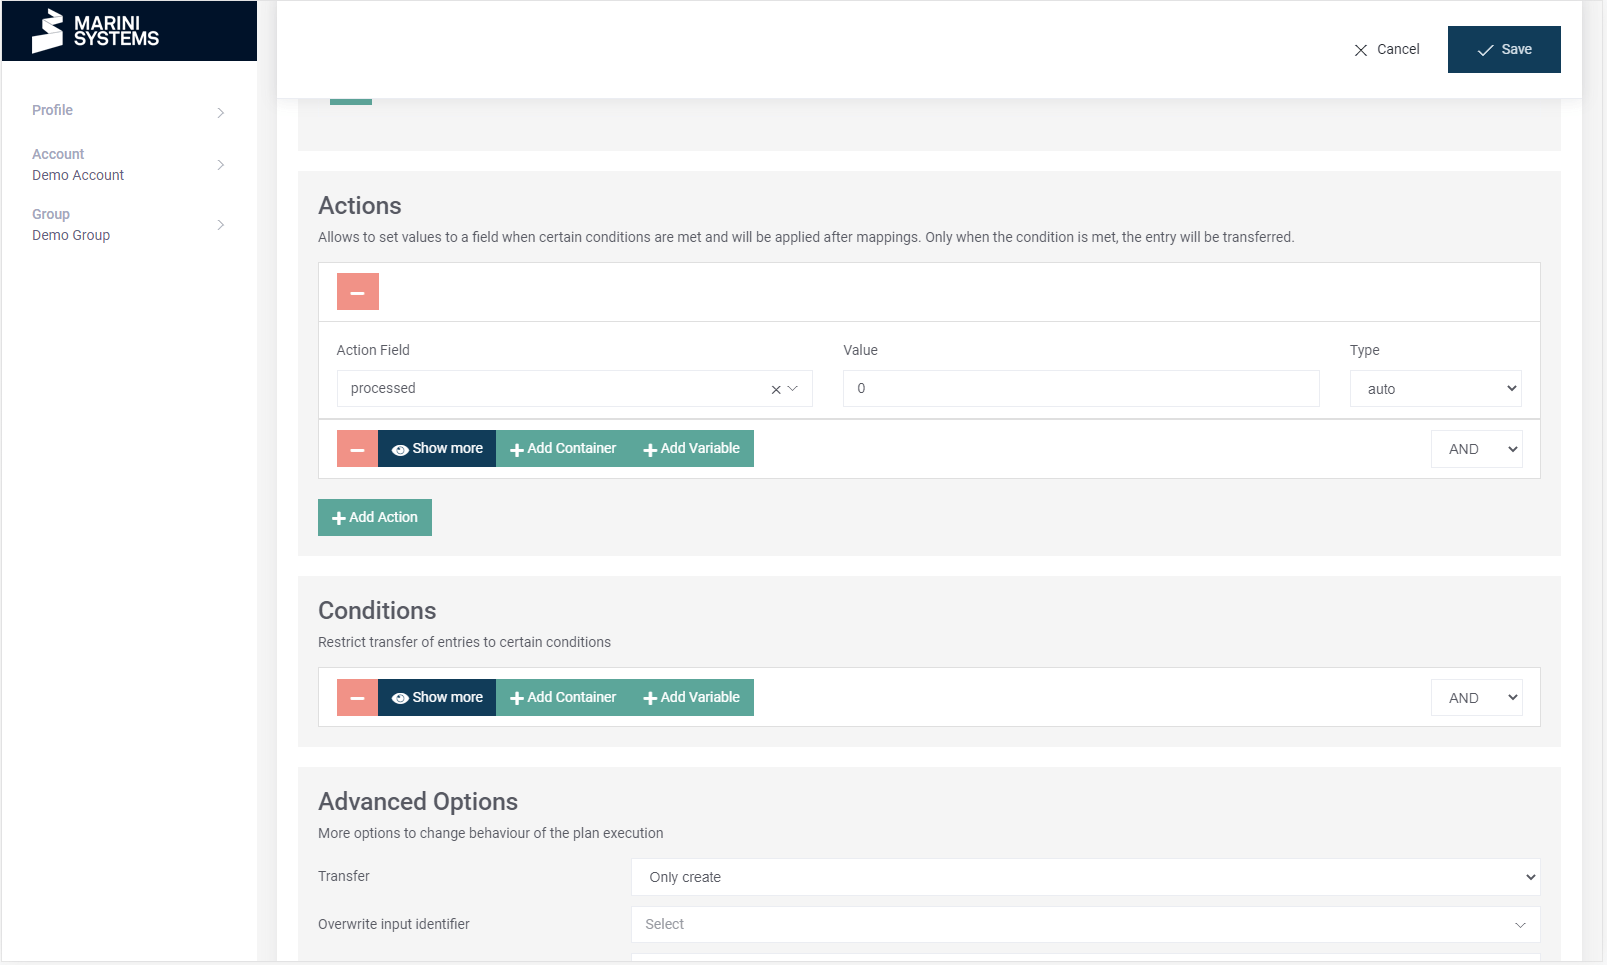
With the button Add Action you can add an action. For each action you can set the following attributes:

  • Description (optional): you can add a description about the action.
  • Action Field: selects the field, which will be used for the action.
  • Value: you can select, which type your field is going to have.

You should select the most suitable type according to your situation. Here is an overview of all available types:

Type What will happen? Input
String Writes your text into the field. Text Input
Null Sets the field to “no value”. No further input necessary.
Boolean Sets the field to True or False. Set the switch to the value you need.
Integer Sets the field to a whole number. Needs numeric input.
Input Feld Copies the value of the chosen input field. Select an input field from the list.
Output Feld Copies the value of the produced output field. Select an output field from the list.
Field after mapping Field after mapping represents the mapped value that will be written to the target system. It can be used to identify changes. Add value or field comparison
After Action till here Evaluates the variable value only at this point in the workflow and takes into account all modifications that previous actions have already made. Add value or field comparison
Remove Removes the whole field. No further input necessary.
Fixed Date/Time Writes a specific date and time into the field. Choose “Date only”, if you do not need the time value.
Relative Datetime Calculates a date and time based on an anchor (Now, Input/Output Field). Create your desired datetime with use of the e.g. Offset. “Calculated” shows you the calculated time.

Example for an Action:

  • The forename Hans should be set for each synchronization.
  • Choose the Action Field forename, select the Value Type String and set the Value to Hans, see screenshot.

Save your action when you have finished configuring it. You can also save actions if they do not yet contain all information. They will not be included in the synchronization. To remove actions, use the orange minus button.

Field forename is set to the value Hans.

Conditional Actions

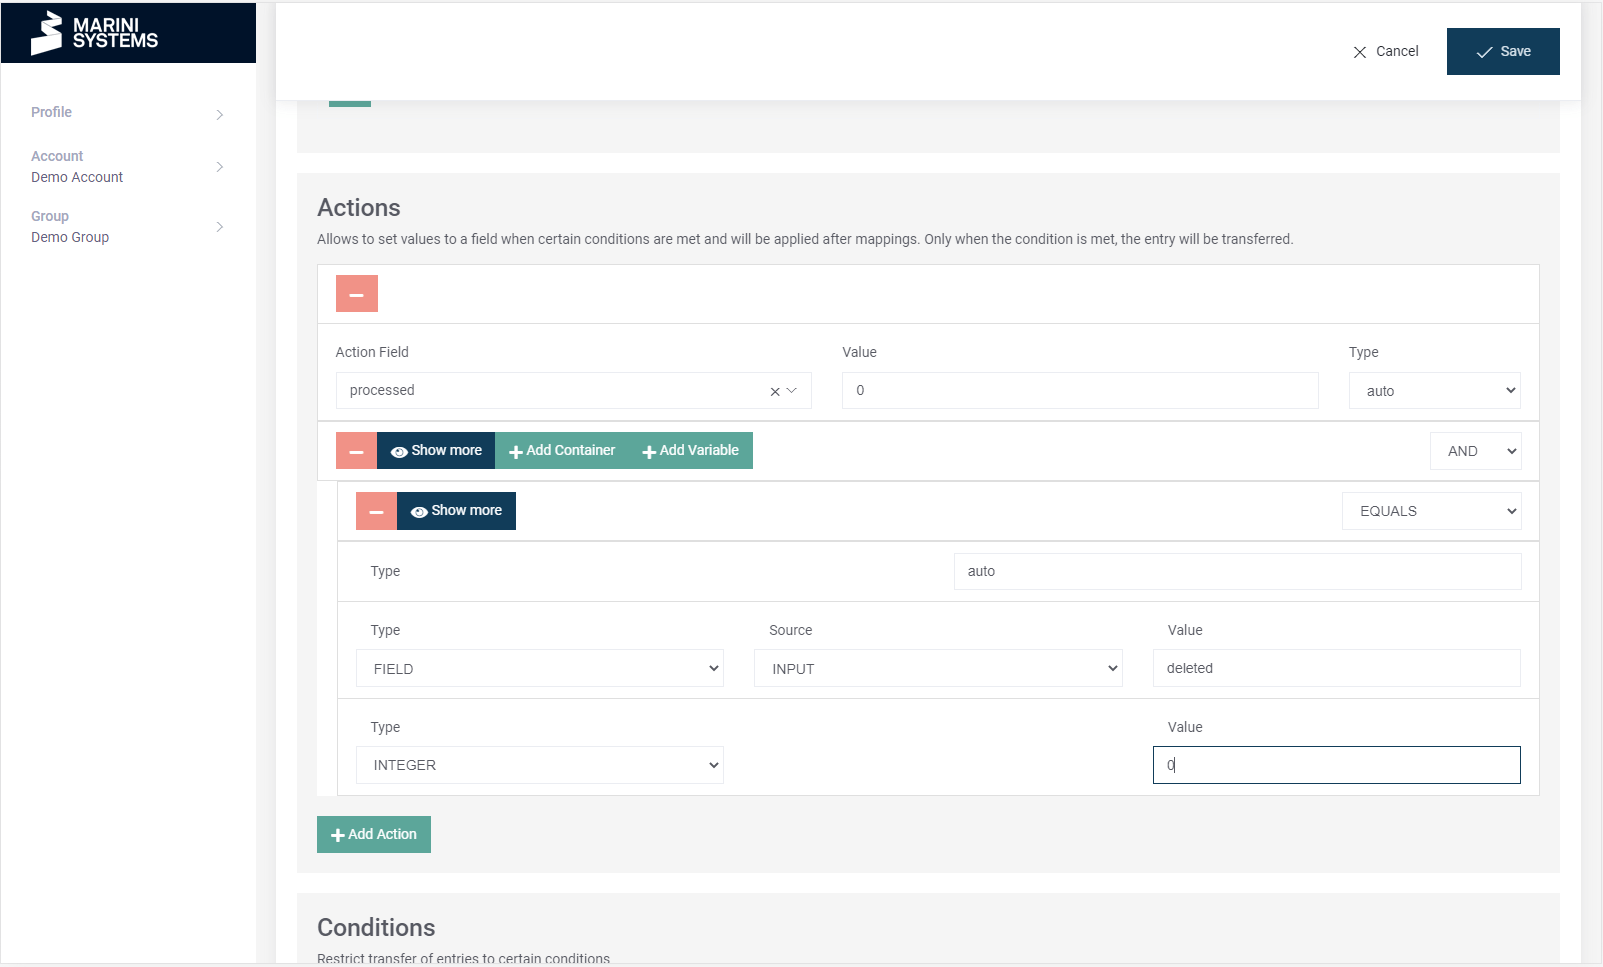
You can also set conditional actions. Choose conditions to control when the action applies.

With Add Rule you add a condition to the action. Then select the Input field, which the condition should be based on.

Typical condition operators are Empty, Is Not Empty, Equals, Not Equals, Greater Than, Lesser Than. Find a full list of operators here. Choose the operator most suitable for your case. The operators Empty, Is Not Empty are safe for any field. Important: operators comparing numbers e.g. Greater Than, Lesser Than only work with numeric/date-like fields. Otherwise the condition witll not match.

You can combine different conditions with AND or OR (Groups).

Examples:

  • Run only if email is empty.
  • Run only if country equals “DE”.
  • Run if either phone or mobile is present (OR group).
  • Run only, if no last name is set and if the email address has a specific value, see screenshot.
Add Conditions to an Action.
Available Conditions that can be added to an Action

Sequential action logic

Actions can can be reordered per drag & drop enabling a chained action logic, so that the execution order is explicit, simply by dragging the Action on the up and down arrows which are located on the upper left side in the Action Box.

Chained action logic is usefull in case you use conditional actions for a comparison of values. It is possible e. g. to compare a value after mapping (how it will be written into the target system) with the value before mapping. You can use the Type Field after mapping to identify the change. If your use case requires a single conditional action, you can use the Type After Action till here to evaluate the value of the variable only at this point in the workflow, meaning it takes into account all modifications that previous actions have already made. The comparison in the condition therefore uses the current value as of the After Action till here step, rather the original initial value.

Example configuration for "After Action till here"

Validation and tips

  • Missing required info: If Field and/or Type (or required value) is missing, the action card will clearly show “Missing info”. You can still save the connection/plan.
  • Value mismatches: Enter a value that matches the chosen Type (for example, use numbers for Integer; use True/False for Boolean). If the value doesn’t fit, the action may be skipped at runtime.
  • Conditions: The frontend does not restrict operators by field (besides enum). The backend validates and applies conditions; if an operator does not fit the field’s actual data type at runtime, the condition simply won’t match.
  • Output field actions: If no output record is available at runtime, actions that copy from an output field will be skipped. If you expect a value, ensure the output record exists earlier in your flow.
  • Relative datetime: Check the preview to confirm the result is as expected (especially with multiple offsets – note, that offsets are processed in order).

If you want to learn more about conditions, take a look at the according Help Center Documentation!

You want to connect your systems and need our help or advice? Just contact us with your request and we will be happy to help you!

Marini Systems GmbH | Website | Privacy Statement | Legal