In this tutorial we will show you how to trigger mailings in Evalanche via the API endpoint Send Mailing. We use the integration of DataEngine with Evalanche as an example. However, other systems such as SAP C4C, MS Dynamics or Salesforce can also be connected via HubEngine (list of all systems).
Schematic representation:
Before we get started, let’s take a quick look at the options Evalanche offers us for sending mailings. There are three mailing types available.
Newsletters are sent manually.
Event mailings are sent scheduled.
Trigger mailings are triggered via a form or via the API.
Event mailings and trigger mailings are used in marketing automation processes. However, the event mailings are only triggered every 15 minutes in Evalanche. This is too long for a prospect who, for example, has ordered something in the web shop or is waiting for confirmation of their webinar registration. Transactional mails in particular need to be sent quickly. The “Send Mailing” endpoint of the Evalanche Adapter allows us to do just that: send individualised mailings without delay.
Here we go.
Instruction
1. Selection of the HubEngine plans
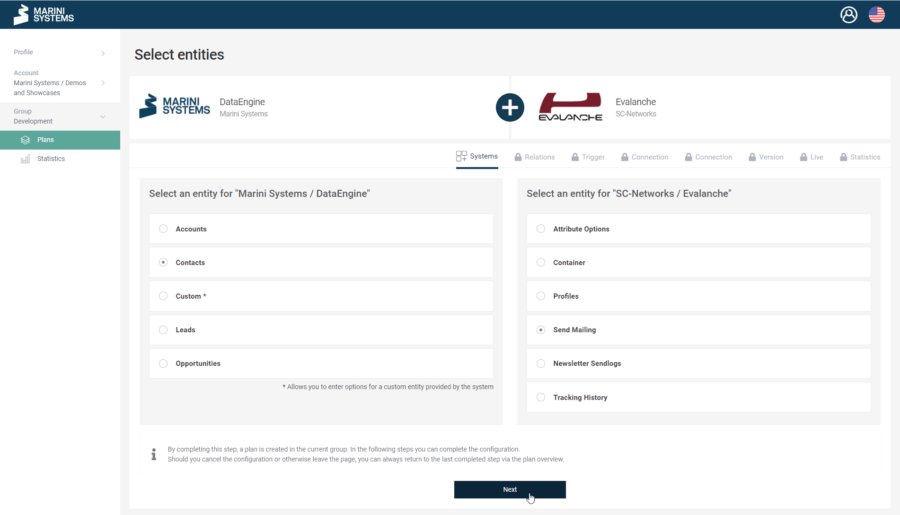
In this use case, the DataEngine and Evalanche systems are used.
2. Selection of the API endpoint Send Mailing
- DataEngine Adapter: The desired endpoint at which the change is recorded. In the example of a profile change of a contact, the end point “Contacts”.
- Evalanche Adapter: Send Mailing
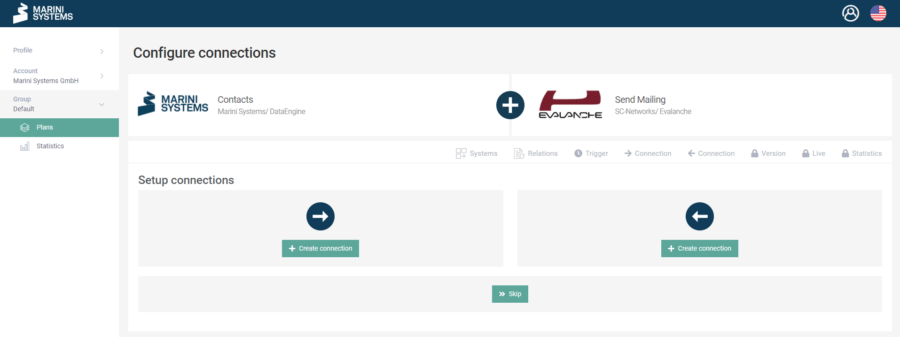
3. Enter Credentials
-
- DataEngine
- Client ID
- Client Secret
- URL of DataEngine
- Evalanche
- Host (bspw. scnem.com, scnem2.com)
- User
- Password
- DataEngine
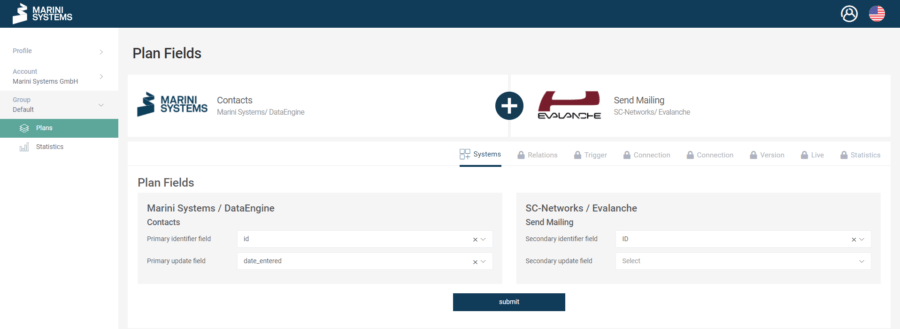
4. Auswahl der Identifier
- DataEngine
- Identifier Field: id
- Update Field: date_modified
- Evalanche – Send Mailing
- Identifier Field: ID
- Update Field: keine Auswahl
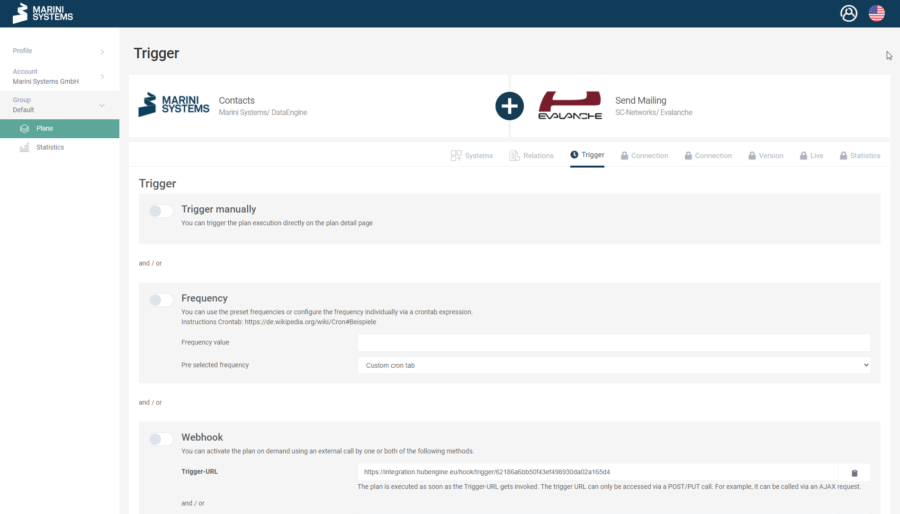
5. Configure Trigger
The synchronisation is triggered via the HubEngine triggers.
Since we want to be fast here, we use the webhook. You can then activate the trigger URL in the DataEngine via a workflow. This way, for example, the synchronisation can be triggered in real time when a profile is changed.
If the system you are connecting does not support calling up the trigger URL, you can alternatively use the time schedule option (frequency). The smallest unit of timing is one minute.
Tip: To test the plan, it is also advisable to use the manual trigger.
6. Configure Mapping and Actions
Mapping: The Evalanche ID stored in the DataEngine must be mapped with the Profile ID field.
Action: The mailing ID of the mailing to be sent by the plan is selected in the action.
The conditions define under which circumstances the mailing is to be sent. In the example case, only if a certain attribute is set in the respective contact, e.g. a certain order was created or a certain field was changed.


